Creating a blog involves many steps if you want to maximize it’s effectiveness. You need to write the content, add images, and optimize it for search engines. Doing all those things can involve multiple people, you need to iterate and communicate back and forth with writers, editors, your SEO expert, social media folks, and finally graphic designers. It’d be great if you could find a tool to do all these things using artificial intelligence. However, at least for now that’s a pipe dream. However, there are many uses for creating marketing content with AI.
Creating blog images with AI is a one of the capabilities that is ready for prime time today. Especially if you are a one-person shop for now at Peripety Labs. Creating images using AI is one thing I can do effectively using my favorite AI artist, midjourney.
Creating a Blog Post Header with Midjourney AI
One of the things I find to be important is to create a blog header that catches your readers attention. When you share the post on social media like Twitter or LinkedIn it also adds that picture to your post. So having an eye-catching image helps draw potential readers attention. There are multiple platforms that I have tried out including OpenAI’s DALL-E but I think the best option for interesting images comes from midjourney, though the interface is a little more complicated. You interact with a bot on a Discord server to create images then download them from your profile on the web.
Prompt Engineering for Image Creation
There are many ways to create a image but I find the best results or at least the most aesthetically pleasing results come from providing a simple example and then having the AI riff on them. Here are some example prompts and the results they generated. The prompts I used are all the captions included with the picture. For the most part I got what I expected. Though the alligator has three eyes and the infographic just has random letters, which is fine. The surprise was the photo of the mother which could be something you’d see in a fine art gallery.


Step-by-Step Image Creation for Your Blog using AI
For this example, I wanted an image for a blog about using artificial intelligence to write blogs. I also like to sneak in my own branding into images so I frequently try to create them with a red rocket, the Peripety Labs logo. I have an account on Midjourney which requires you to interact with it through a Discord server. Once you join the server you interact with server bot. Prompts for creating images follow the following format.
/imagine prompt [your prompt here]Where [your prompt here] is where you enter the description of what you want.
Creating My First Prompt
In this example I used the prompt:
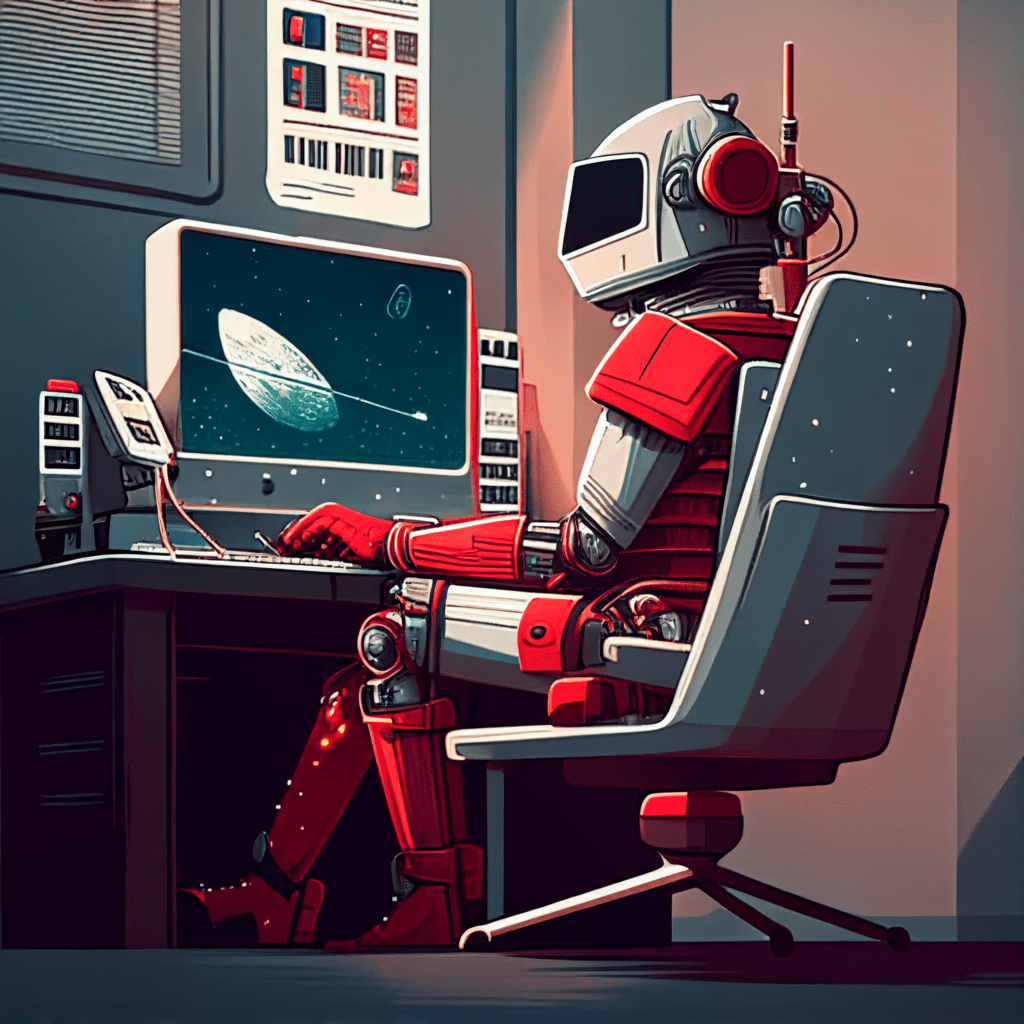
/imagine prompt A robot sitting in a chair in an office in front of a computer screen, typing on a keyboard with a red rocket in a picture frame in the background as the robot is bloggingThis was what I got back from the server:

Varying the Images
The results gave me a few different styles, so I picked the style I wanted by choosing V4. Each of the images corresponds to the four individual images (Upper Left = 1, Upper Right= 2, Lower Left = 3, Lower Right =4). This started a second job where it created variations of the image.

Upscaling an Image
Midjourney starts by generating a grid of low-resolution image options for each Job. You can use a Midjourney upscaler on any grid image to increase the size and add additional details. There are multiple upscale models available for upscaling an image. In MidJourney 5 the resulting resolution is 1024 x 1024. However, if you want to create higher resolutions you can use the beta to create a 2048 x 2048 image. That’s what I did for my blog header.

The Final Image for a Snazzy Looking Blog
The final product was something that I was pretty happy with, it wasn’t exactly what I envisioned but it took me about 15 minutes to create including the wait time for rendering. I actually took a break between sections of the blog to create the image so I really spent a few minutes of my time to create the following image that wasn’t exactly what I expected but much better than I would have had access to previously. Additionally, after I made this blog I had to go through the same process as we
